If you've been here before, you may know that I mostly scrapbook in two-page layouts, which sometimes leaves me struggling for leading and end pages for each year's album. So this hop inspired me to plan ahead for a change, and I made this layout for New Year's Eve before I even took the pictures.

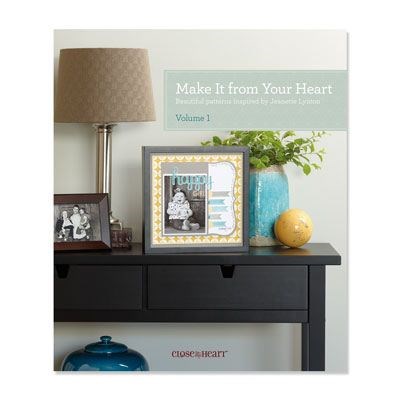
I went with a simple layout, using a sketch pattern from Make It From Your Heart Vol. 2 from Close To My Heart. The three spaces will each hold a 3x3 photo. I used that size so I can add more than 3 photos if I need to using some Flip Flaps


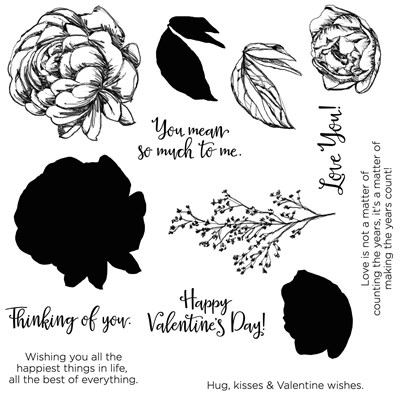
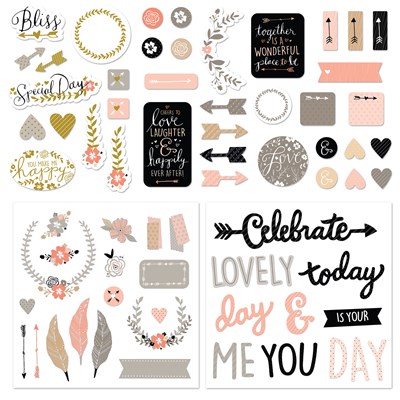
For my title, I used a coordinating sticker from the kit for Celebrate. Then I cut New Year's Eve with Artistry, again using that same pattern paper to tie everything together.

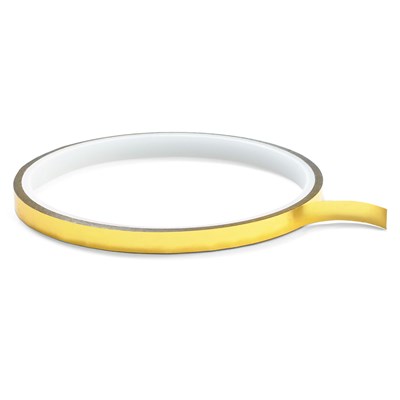
I cut a journaling card from one of the sheets in the kit and rounded the top corners so it would match the chipboard phrase I wanted to use. I adhered it right at the bottom edge of the page to ground it, then added the chipboard and a gold puffy sticker.
Thanks so much for checking out my project! If you're interested in any of the products I used, I have a photo shopping list at the bottom of the post linking to my website. But be sure to continue the hop and visit all of these inspiring blogs today!
1. Lisa ~ http://honeybearzdesigns2011.blogspot.com
2. Kim ~ http://katydidcards.com
3. Holli~ http://Sunflowerholli.blogspot.com
4. Miranda ~ www.nanasscrapspot.com
5. Connie- http://conniecancrop.blogspot.com
6. Barbara-http://barbarab3.blogspot.com
7. Lori - http://savingmine.blogspot.com/ <<<<
8. Lisa F ~ http://lisaslittlerascals.blogspot.com
9. Sarah ~ www.sarahbiswabic.blogspot.com
10. Rhonda ~ http://craftingwithblue.blogspot.com
Products used in this project:
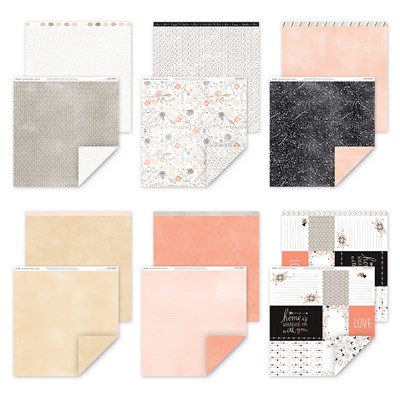 |
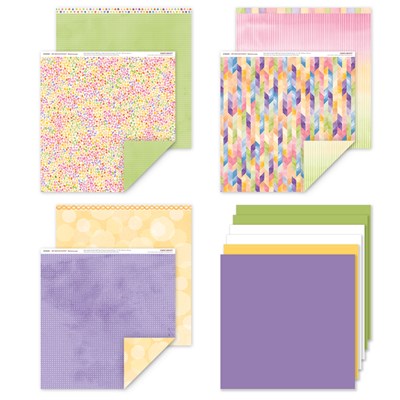
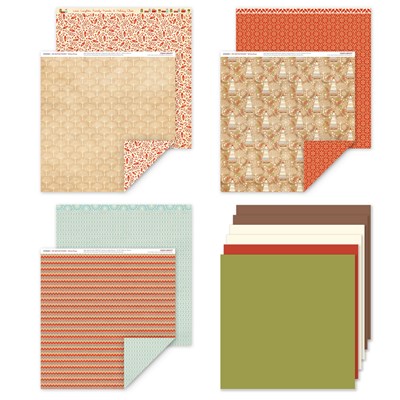
| Charlotte Paper Pack |
 |
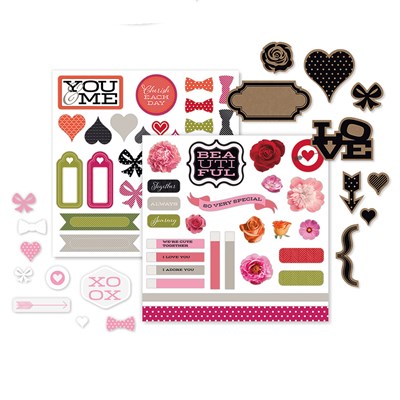
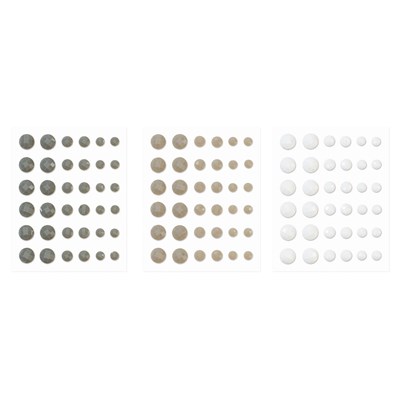
| Charlotte Complements |
 |
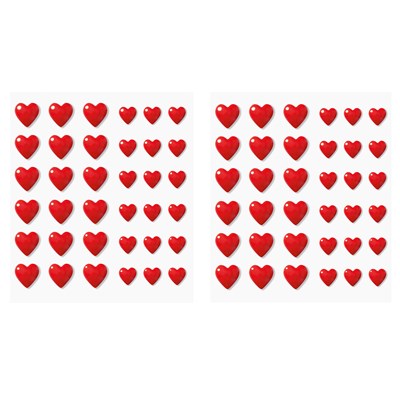
| Treasured Puffies |
 |
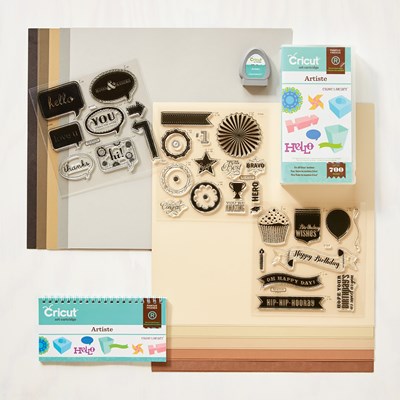
| Artistry Cricut Cartridge Collection |