Artistry comes with three beautiful stamp sets, and a Cardstock Combo pack. You can see them all in the photo at the bottom of the post.
There are so many great cuts on this cartridge it was hard for me to choose what to focus on. But since I have a ton of cat pictures I haven't scrapped, I decided to use (mostly) the cuts on page 10 of the handbook, along with the font.
 |
| Click the pic to see it bigger! |
I used papers, Shimmer Trim, and stamps from the Zoe Workshop on the Go, adding some extra Slate cardstock. I will say that if I had to do it over again, I would add a solid white circle behind the yarn ball so it looks more like yarn (and less like a volleyball, lol) because of its size. Other than that one little thing, I am super happy with how this turned out!
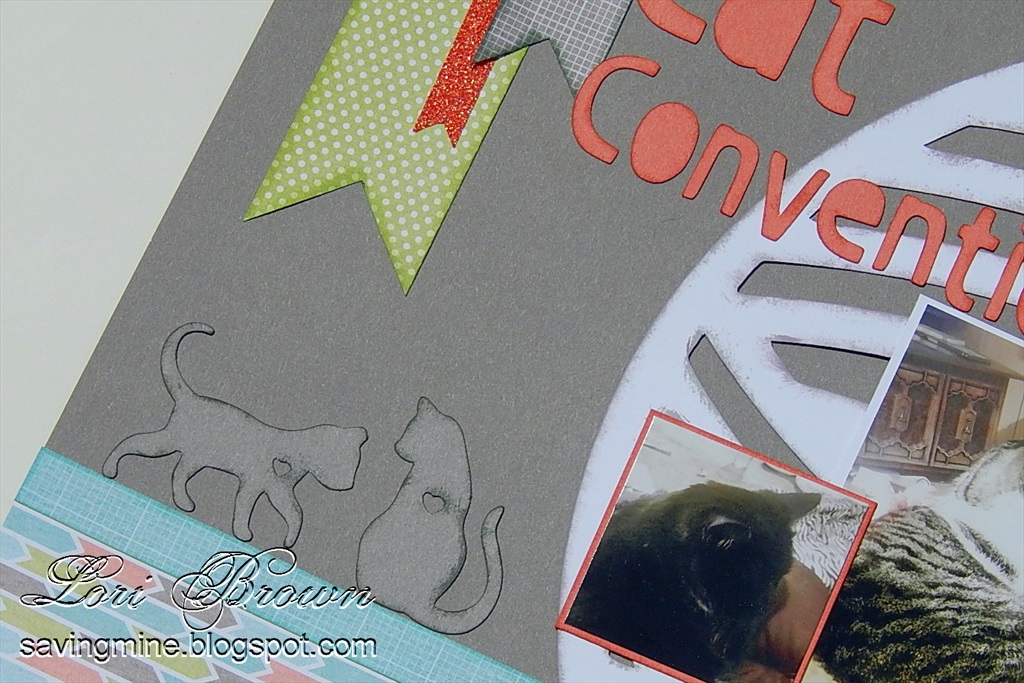
Can I just say how much I love these cat silhouettes? I especially love this tone-on-tone look, and will definitely be using that again. A little ink sponged on the edges really helps define the images! I also like the fun "hole free" font - it lends a whimsical touch to any project.

Banners are a nice way to add color and texture, and fill in when you have a little too much white space. I added more Shimmer Trim some Red Enamel Hearts for a little for interest (and because I love my furbabies).

The "one happy day" paper is a zip strip from one of the papers. I used the matching one on the other page, but hid the words under the ball of yarn. I used stamps from the WOTG for "FUN &" and used the font on Artistry for "FUR" to match. The green shape can be found on page 1 of the Artistry handbook. More Shimmer Trim and a Red Enamel Heart tie this in with the other elements on the page.
So what would your first project with Artistry be? Leave me a comment and let me know! After you comment, be sure to hop along to Jean McNulty's Stampin' Maui blog and see what she made for us.
If you'd like to shop, the following links open in a new tab so you can continue the hop right here.
 |
| Look at everything you get when you buy Artistry! You can make tons of projects with this by itself. |
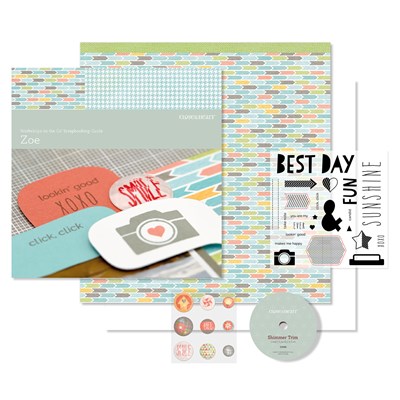 |
| Zoe Workshop on the Go |
Want to earn free items? Let me create a Gathering for you when you purchase the following items:
Artistry $99.00
Zoe WOTG $29.95
Sponge Daubers $4.50
Slate Ink Pad $5.95
Sweet Leaf Ink Pad $5.95
Sorbet Ink Pad $5.95
Red Hearts $3.95
======
Subtotal $155.25 earns you $25 in select product credit!


