Showing posts with label Flip Flaps. Show all posts

Wednesday, August 6, 2014

This Is Going To Be a Wonderful Year! - New Product Blog Hop


Hello and welcome to our Close To My Heart new product blog hop! If you've arrived here from Melinda's If You Bling It blog, or if you are just starting out, you are in the right place. If you get lost along the way, there's a complete list of hoppers right here.

Based on my opinion of our brand spankin' NEW Annual Inspirations catalog, this truly IS going to be a wonderful year. There are so many beautiful products, I know it's hard to choose where to start. I decided to start at the beginning of the catalog with the beautiful new Chalk It Up products. And FYI, even though the chipboard Complements are totally school themed, the rest of the products are pretty neutral and you can use them for all kinds of projects!

Having three kids myself, I chose to use the school theme to its fullest with a layout featuring pictures from the first day of school.


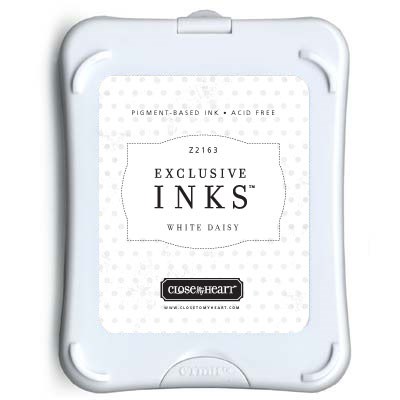
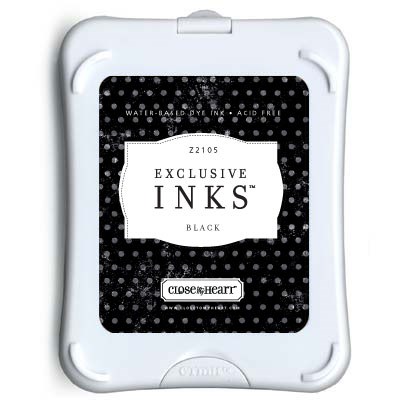
True to its name, Chalk It Up is great for a chalkboard technique. It's easy to make Black cardstock look like a chalkboard - just use a sponge to swipe on White Daisy pigment ink and let it dry.  It takes just a little practice to get this easy look. If you get a little too much ink on the paper, just wipe it again with a clean section of sponge! I also used a Sponge Dauber to add some Black ink around the edges of all of my photo mats for a little extra contrast.


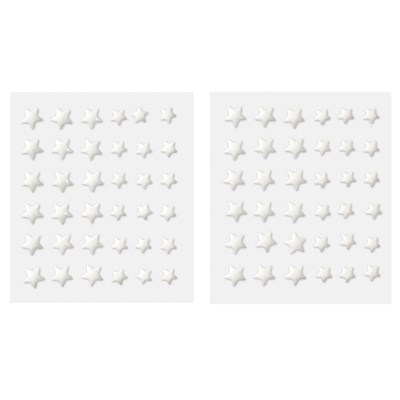
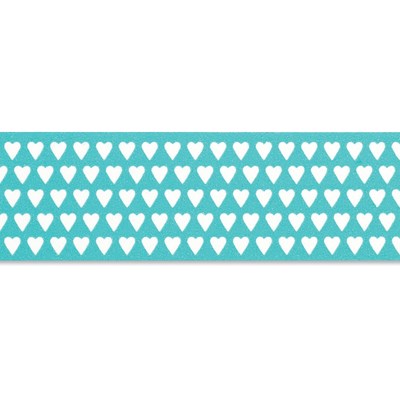
I love these Chalk It Up Complements, as well the Chalk It Up Assortment (they're puffy stickers!! who remembers those?!) and the White Enamel Stars.  And do you see that Lagoon Heart Washi Tape below? These accessories add just the perfect touch to a Chalk It Up project. In fact, I love it so much, this is my featured Kit of the Month that I will be showcasing all month long. (4 projects completed so far and ready to post soon!)


A little bit of strip journaling, along with more of those great accessories, and your eye is pulled right across the layout, just the way it should! Oh, and do you see that photo on the left side?


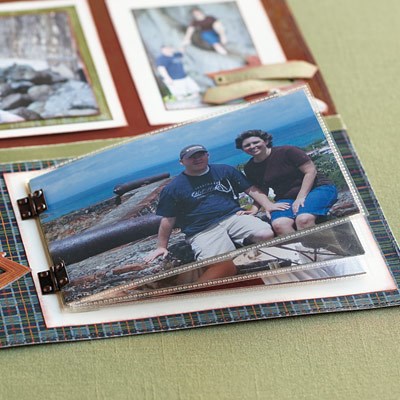
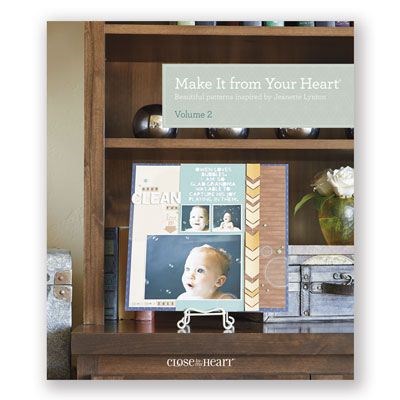
Ta-da! It's a Flip Flap to add a couple more photos to the layout. Talk about easy - I can now base my layout on any sketch I want! I used Pattern 6 from Make It From Your Heart Volume 2, because it worked well with the majority of my photos.

If you want to see the details on any of the products I used, or if you want to shop, my photo list below has links that open in a new window so that you can also stay right here and continue the hop. Before going to see more inspiration, I'd love it if you'd let me know what you think of this project. Then let's head on over to Priscilla's Paperie and see what awesome project she has for us this month.

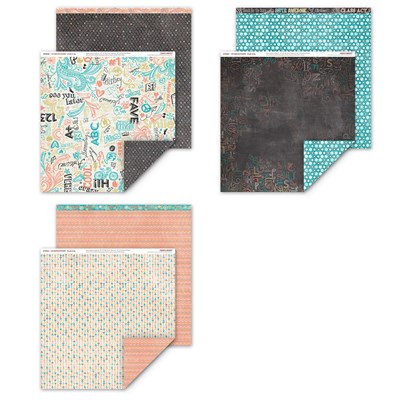
Chalk It Up Paper Packet
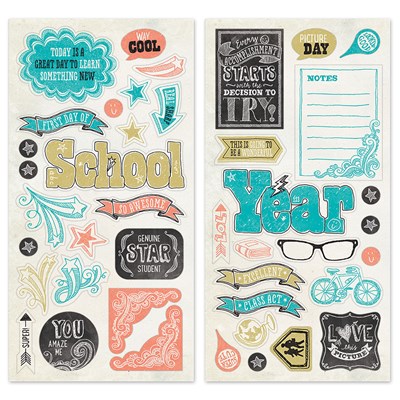
Chalk It Up Complements
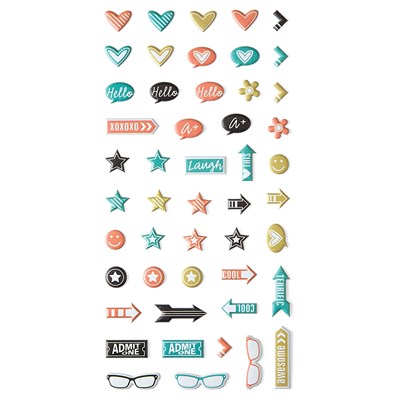
Chalk It Up Assortment
Black Cardstock
White Daisy Pigment Ink Pad
Round Sponge
Black Ink Pad
Sponge Daubers
White Enamel Stars
Lagoon Hearts Washi Tape
Flip Flaps
Make It From Your Heart Volume 2

Monday, June 30, 2014

It's a Circus In Here! - July Stamp of the Month Blog Hop

Hello and welcome to the July stamp of the month blog hop! If you have arrived here from Sheila's blog, or if you are just starting out, you are in the right place. If you get lost anywhere along the way, I have a list of all the hoppers right here. (Click now and it will stay open in its own window while you hop.)

This month we're featuring Circus Alphabet - it's full of fun, doodle-style uppercase letters and a full set of coordinating lowercase letters and numbers. I can see lots of uses for this set, but for today I used it to title a layout about a school music program.


I used a sketch from the Magic how-to book, changing the one 8x6 picture on the left page to two 4x6 pictures.


I decided to split the title into pieces and used all uppercase letters for "music" and the lowercase on the other 2 sections.


To make the letters stand out more against the patterned background, I first stamped with
Lagoon pigment ink.  Once that was dry, I used a white gel pen to fill in the centers.  Because the "C" has doodles in the center, I stamped it again on top of the gel ink once it was dry.


I had several pictures, so I added some Flip-Flaps to get all of the photos included.  I will go back and add a strip of journaling to some pictures so I can list the names or make additional notes.

If you're ready to shop, I have a list below. All links will open in a new window, so you can easily continue our hop!  When you're ready to move along, head on over to Maria's Stamp Momma blog and check out what she made this month.

In addition to the items shown below, I used some leftover large adhesive sparkles from a wall decor kit and a White Signo Uniball gel pen. The green ribbon is from my stash.

Lollydoodle Paper Packet
Sorbet Cardstock

Adventure Pigment Ink Pads
Sorbet Stamp Pad
Pear Stamp Pad
Aqua Dots
Flamingo Dots
Bitty Sparkles
Sparkles Black & Grey Assortment

Circus Alphabet
4x6 FlipFlaps


Wednesday, June 25, 2014

Rosettes and Vintage Country

Sorry for the lack of posts lately all! I have a new "day" job, and combined with kids out of school I have been sorely lacking in crafty time.  BUT, I have been continuing to play with the Jubilee paper pack and have another 2-page layout today.


Our annual family reunion has been going on for well over 80 years now, and for the last dozen or more we have held it in a little country church. So I thought the designs of Jubilee would be perfect for our indoor picnic-type setting.


Since Jubilee has a ton of country charm, and id already a little vintage looking, I added some paper rosettes with badge and button centers to add to the vintage feel. They are simple to make by scoring strips of paper on a Scor Pal (or on your paper trimmer with a scoring blade or embossing stylus), then fan-folding the paper. Simply adhere the ends and flatten into a circle held in place with a Glue Dot or two.


For my title, I thought the Framework alphabet would make a nice addition. I stamped it in Colonial White pigment ink directly on my Topiary cardstock base, then stamped it again (I used Cranberry) on my pattern paper. I cut out the patterned version inside the stamped lines so that the ink I stamped on my base would show around it.


If you look in my top photo, you can see the picture on the bottom of the left page looks a little odd. That's because I had a couple of extra pictures I wanted to include, but without having all three of them showing on the main page. (They were just a funny aside to the main story, so I stuck them in a Flip Flap. I'll add a strip of journaling inside the flap to explain it.)

When I looked for a sketch to use, I knew I wanted to do this, so I looked for a sketch using 9 pictures instead of the 11 I had.  I ended up with another sketch from Scrapbook Generations, which always make it look like I have mad skills!

If you're interested in any of the products I used, here is a handy shopping list. Don't forget - I will send you a grab bag worth at least $15 for every $30 you order before the end of June! And corporate's discount bundles with any $50 order are a nice deal too so be sure to check them out.

Jubilee Paper Packet
Topiary Cardstock


Jubilee Assortment
Framework Alphabet
Colonial White Ink Pad
4x6 Flip Flaps
Glue Dots

Friday, January 31, 2014

Hey, Foxy! Check Out This Stamp of the Month

Hello and welcome to the February Stamp of the Month clog hop! If you've arrived here from the talented Melinda Everitt's blog , or if you are just starting out, you are in the right place. When we're done here, you'll hop along to  Dana Kessler's awesome blog and see what she has to inspire us this month.

In case you get lost along the way, I have a list of everyone participating in the hop here.

Wild About Love is a set of 9 fun & fabulous stamps that celebrate all things "foxy". If you follow my Facebook page, you have already seen a couple of sneak peeks, including one from my Creations by AR Design Team post here on the 21st. I have a couple of other projects coming up this week as well.

For today, I'm sharing a fun 2-page layout from a day we spent at a state park.


Obviously, this little fox family is having just as much fun as we did.  I paired them up with the new Timberline papers and MyStickease, 2 kinds of Washi Tape, Timberline Assortment embellishments, and the Irresistibles Frames. All of those items, except the MyStickease, come in the Timberline Workshop On The Go Kit with another great stamp set (and all at a reduced price!).


I used a sketch from Make It From Your Heart volume 2 to design my page, modifying it slightly. It called for a 6x8 photo here, but I wanted to use a 4x6 so I created a title scene in the bottom half.  I cut the plaque from the board patterned paper using the Cricut Art Philosophy cartridge, and stamped it in Chocolate. "Take A  Hike" came from the MyStickease and "This Way" is from the Timberline  Assortment.  I stamped the foxes in Autumn Terracotta on Colonial White cardstock and cut them out using my micro-tip scissors.

I colored the Irresistibles Frames using sponge daubers and Ponderosa Pine & Twilight ink pads. I adhered them to the 2x2 Flip Flaps using Liquid Glass.


I used the 2x2 Flip Flaps to add 3 more pictures on top of the memory protector. A great way to squeeze in a few extra pictures of personalities and sweet moments.


I used more Flip Flaps (3x4 size) on the other page to add more pictures of the scenery. I included another fox here, along with a stump stamped in Chocolate on the board patterned paper and cut out with Micro-tip Scissors.


These hearts are also cut with the Cricut cartridge and stamped in Autumn Terracotta and Lagoon. I popped them up with 3-D Foam Tape and inserted a stick pin from the Timberline Assortment.

I hope you enjoyed my project today; I'd love to hear what you think! If you'd like to shop, I have a list of all the products I used below. (The links open in a new window so you can continue the hop.) If you're ready to hop along, let's head over to  Dana Kessler's blog and check it out!

Products used here:

Thursday, September 8, 2011

Happy Days Layout with Echo Park Paper and Close To My Heart

It's Echo Park Paper month over at the Cutters Creek blog, and today I have a project up.  Since I added a few things using products from Close To My Heart, I thought I would post it here as well, with all of the extras.  You can read about the base layout over on the Cutters Creek Blog, including links to the Cutters Creek products I used in my layout.


I started with the "Ta-Da!" layout pattern from the Magic interactive scrapbook layouts book, changed up the right page a little, and added some interactive parts.  The shield shape for the title area is cut using the new Art Philosophy Cricut cartridge exclusive to CTMH.  Remember, be sure to head over to the Cutters Creek blog to see the base layout underneath here!  Look carefully, you may not be able to tell the difference right away...

  
This picture shows some added Flip-Flaps flipped open on the vertical pictures.  This is a REALLY easy way to add more pictures to a layout.


This final picture shows the Flip-Flaps for the horizontal pictures flipped open.  For this one, I have three Flip-Flaps stacked one on top of the other.  With their super adhesive flap, you can stick a stack right to the outside of your layout's sheet protector!

Close To My Heart products used:
 If you like this Echo Park Paper collection, be sure to head to Cutters Creek and see all of the 12x12 collections and 6x6 paper pads available from them.  Thanks for stopping by today!  Hope to see you again soon.
Related Posts Plugin for WordPress, Blogger...