For my first project with this stamp set, I made a birthday card for my ice-cream loving 14-year-old daughter. It was perfect, since we planned to give her money this year.

I used the Bokeh technique for the background (more on that at the end), and simply stamped the sentiment in black on it. On a scrap of White Daisy, I stamped the ice cream cone twice using Black pigment ink. I gave it a quick blast with my heat gun to make sure it was completely dry before coloring it with my alcohol markers. (I used Copic markers, but if you are looking for a more economical option, our ShinHan markers are a great alternative!)
After coloring the ice cream of one image and the cone of the other image, I cut them out. I cut the entire image with the cone colored, and only the ice cream of the other image. I mounted the ice cream on the cone using thin 3-D foam adhesive. I then applied Liquid Glass to the surface of the ice cream and, while still wet, sprinkled on some chunky gold glitter to make it look a bit like her favorite Drumsticks.
I mounted my background on a black mat, then a Gypsy mat, then on to the card base. Once the Liquid Glass on the ice cream cone was dry, I adhered it to the background using more thin 3-D foam adhesive.
If you'd like to shop, here are the supplies I used:
 | |
| June SOTM |
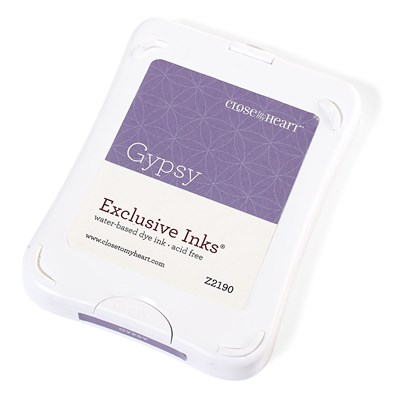 |
| Stamp Pads in Gypsy, Thistle, and Cotton Candy |
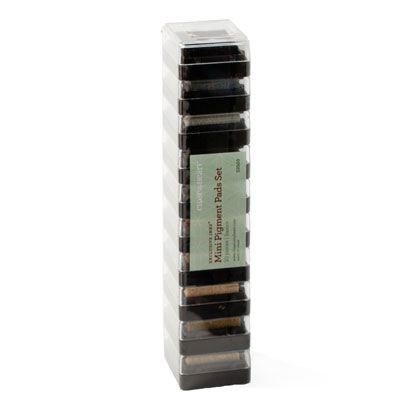 |
| Basics Mini Pigment Ink Set |
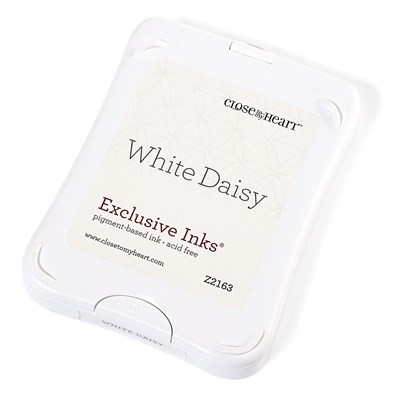 |
| White Daisy Pigment Ink Stamp Pad |
 |
| Thin 3-D Foam Tape |
 |
| Liquid Glass |
 |
| Sponge Daubers |
 |
| Non-Stick Micro-Tip Scissors |
 |
| Cardstock in Black, Gyspy, and White Daisy |
Bokeh Tutorial:
The Bokeh technique is super easy! All you need are a few items:
- White Daisy cardstock
- stamp pads in 2-3 colors for background
- white pigment ink stamp pad
- sponge daubers
- circle templates in various sizes - you can make your own using stiff plastic from product packaging and some circle punches (or a Cricut, etc.)
Step 1 - use sponge daubers and your colored stamp pads to randomly place colors on the white cardstock. Let dry or blast with a heat gun.
Step 2 - Using the circle templates and a sponge dauber, sponge the white pigment ink randomly on the background. Be sure to overlap some and run some off the edges for a natural look. Let dry or blast with a heat gun.
That's it! Can you believe how easy that is?!
I'd love to hear what you think of this project before you go. Now, let's hop along to Maria Myers' blog and see what fabulous project she has for us this month. I'm looking forward to seeing all the ideas this month!
Your icecream looks so real I was almost tempted to lick it. Thanks for sharing.
ReplyDeleteYour bokeh technique is terrific, and that ice cream looks good enough to eat! I'm sure your daughter loved her special card.
ReplyDeleteYum...drumsticks are one of my favorites! A good lesson in spending too!
ReplyDeleteDelightful card - absolutely perfect
ReplyDeleteWhat a delicious looking chocolate ice cream cone!
ReplyDeleteOh my! - your ice cream looks good enough to eat! Great card and love the bokeh technique, looks great.
ReplyDeleteThat ice cream looks amazing! The sprinkles are a nice touch!
ReplyDeleteLove the softness of the bokeh technique! Your ice cream stands out great!
ReplyDeleteThat sparkly, shiny icecream is wonderful!
ReplyDeleteYou make that bokeh technique look easy...and I know it's time consuming. Love it!
ReplyDeleteLooks edible to me - well done!
ReplyDeleteGreat sprinkles on the ice cream.
ReplyDeleteLove what you added to the cone
ReplyDeletedid you use color other then the gypsy and daisy inks for the Bokeh? love how it all turned out
ReplyDeleteThanks Cathy! Yes, I used Gypsy, Thistle, and Cotton Candy.
DeleteBeautiful! Great job on the Bokeh technique and making the ice cream cone looking edible. It makes me hungry.
ReplyDelete