Tuesday, August 18, 2015

16 Page Daytrip Scrapbook with Seaside - Part 1

Ever have one of those days where you take so many pictures they need their own album? Yep, I thought so. For me, it was a trip to Shedd Aquarium with my girls.

I don't normally buy the "beachy" theme supplies because we don't get to a beach much, but I thought the Seaside products from Close To My Heart would be perfect for this album.  I didn't want to overbuy and have leftovers, so I only bought the Workshop on the Go kit plus the Seaside Complements, and combined them with regular cardstock, Paper Fundamentals, and general accessories & stamps. I also used several Cricut cartridges.

Today I want to share my title page and end page with you. I'll share more pages over the next week or so, so be sure to come back and check them out too!

I actually made the title and end pages last, but wanted to share them first because there are some really good tips here for using up those leftover bits of everything.


First of all, use those biggest scraps for a focal area for your picture. Skinnier bits are perfect for banners, strips, and circles.  If you have enough of something left, you can cut a fab title with the Cricut (I used the font from Artfully Sent). Otherwise, you can always stamp a title directly on your page base.


To embellish, I used an assortment of items. Here I used Cricut cuts from Artistry, combining some with stamps that come with the cartridge as well as this month's Stamp of the Month. I also sprinkled Sequins and Aqua Dots throughout the album.


Some of the images, including this one stamped with the Seaside WOTG stamp set, are popped up on 3-D Foam Tape for added dimension.


Here's another option for leftover strips. Just line them up like soldiers and add a top & bottom border to make it look finished.


This title sticker from the Complements was perfect for my final picture. Whatever option you use for a title on this type of layout, you want to put it on a solid "plaque" shape like this. It helps to ground the title on the various patterns of the strips.


A second solid shape is good for journaling if you have it, or in my case a secondary title.  Add a scattering of embellishments for fun and continuity with the rest of the book.

That's all I have to share with you today. Hope I gave you a few ideas for your own leftovers! Here's a list of items I used for the entire album - links open in a new window:

Seaside Workshop on the Go
August 2015 SOTM
Paper Fundamentals - Adventure (Pear) 
Paper Fundamentals - Whimsy (Sorbet, Glacier)
CS in Glacier, Colonial White, Sorbet, Pear, Hollyhock, Lagoon, and Desert Sand

Ink Pads in coordinating colors
Sponge Daubers
Assorted Adhesive Sequins
Aqua Dots
Durables Artisan Studs
Coral Shimmer Trim - backorder until 8/21
Keyboard Uppercase stamp set
Cricut Collections

Thursday, August 6, 2015

Artistry At-a-Glance

Hello and welcome to the Artistry blog hop! You are sure to get loads of ideas for this awesome new Cricut cartridge so be sure to stick around. If you've come here from Priscilla's Paperie, or if you are just starting out, you are in the right place.

Artistry comes with three beautiful stamp sets, and a Cardstock Combo pack. You can see them all in the photo at the bottom of the post.

There are so many great cuts on this cartridge it was hard for me to choose what to focus on. But since I have a ton of cat pictures I haven't scrapped, I decided to use (mostly) the cuts on page 10 of the handbook, along with the font.

Click the pic to see it bigger!

I used papers, Shimmer Trim, and stamps from the Zoe Workshop on the Go, adding some extra Slate cardstock. I will say that if I had to do it over again, I would add a solid white circle behind the yarn ball so it looks more like yarn (and less like a volleyball, lol) because of its size.  Other than that one little thing, I am super happy with how this turned out!


Can I just say how much I love these cat silhouettes? I especially love this tone-on-tone look, and will definitely be using that again.  A little ink sponged on the edges really helps define the images! I also like the fun "hole free" font - it lends a whimsical touch to any project.


Banners are a nice way to add color and texture, and fill in when you have a little too much white space. I added more Shimmer Trim some Red Enamel Hearts for a little for interest (and because I love my furbabies).


The "one happy day" paper is a zip strip from one of the papers. I used the matching one on the other page, but hid the words under the ball of yarn. I used stamps from the WOTG for "FUN &" and used the font on Artistry for "FUR" to match. The green shape can be found on page 1 of the Artistry handbook. More Shimmer Trim and a Red Enamel Heart tie this in with the other elements on the page.

So what would your first project with Artistry be? Leave me a comment and let me know!  After you comment, be sure to hop along to Jean McNulty's Stampin' Maui blog and see what she made for us.

If you'd like to shop, the following links open in a new tab so you can continue the hop right here.

Look at everything you get when you buy Artistry! You can make tons of projects with this by itself.
Zoe Workshop on the Go

Want to earn free items? Let me create a Gathering for you when you purchase the following items:

Artistry                            $99.00
Zoe WOTG                     $29.95
Sponge Daubers                $4.50
Slate Ink Pad                     $5.95
Sweet Leaf Ink Pad           $5.95
Sorbet Ink Pad                   $5.95
Red Hearts                         $3.95
                                       ======
Subtotal                         $155.25     earns you $25 in select product credit!

Saturday, August 1, 2015

Card Workshop With Framed SOTM

Hello and welcome to the August Stamp of the Month blog hop! I'm super excited to see everyone's posts this month because we all have some brand spankin' new products available to use with these versatile stamps.  If you've come  here from  Pam Trostle's blog, or if you're just starting out, you're in the right place. Just hop around the circle until you get back to where you started.

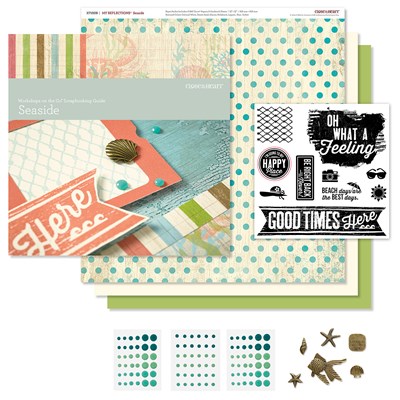
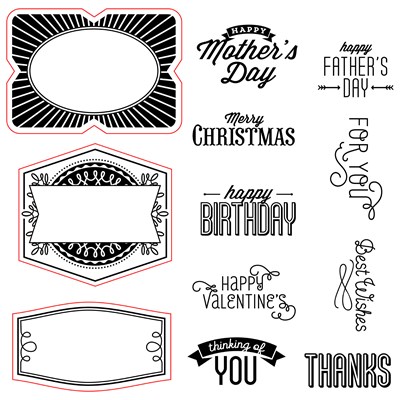
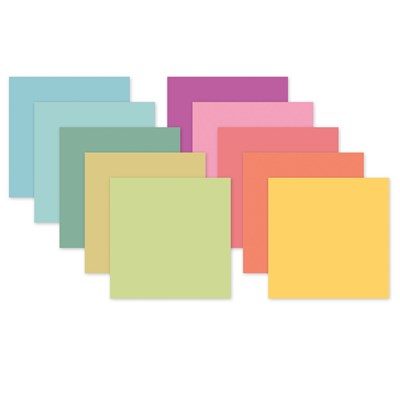
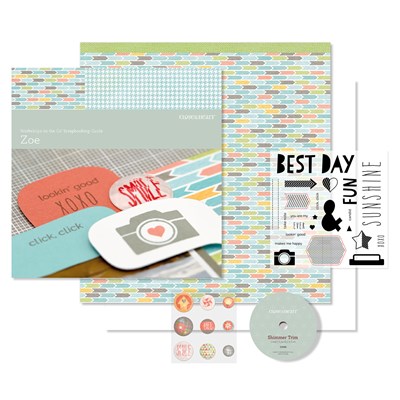
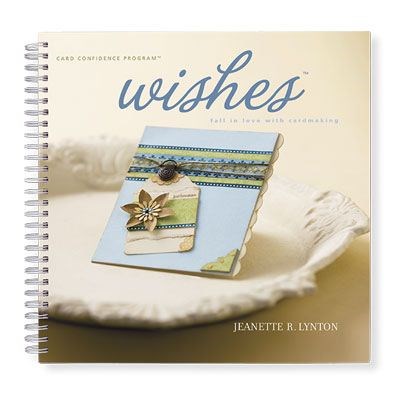
I had a lot of fun with this set of 12 stamps, and I didn't even use all of them. I have a feeling that most of my fellow consultants are using the new Zoe line this month, but I chose to focus on our new Cricut cartridge and one of the gorgeous new colors of cardstock that now comes in the Cricut collection. I used them along with a few existing accessories and the Wishes how-to book to make a beautiful set of 8 cards. I used one of the workshops in the book, but only made one of each card design instead of two.


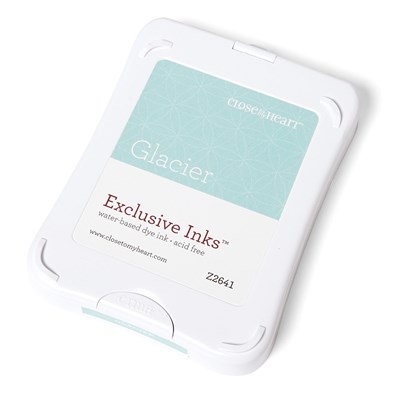
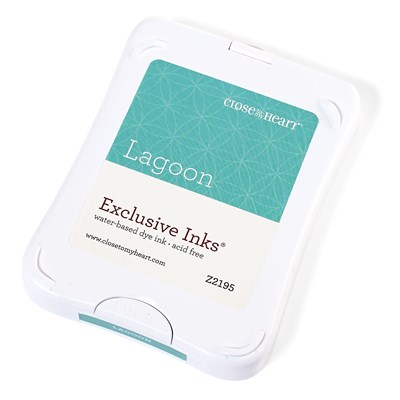
Isn't that new Peacock cardstock gorgeous? I paired it with Lagoon CS and ink, black ink, and the Quatrefoil embossing folder for this card. I love how beautiful simple cards can be! I used some Thin 3-D Foam Tape on the central design, making it super easy to mail.

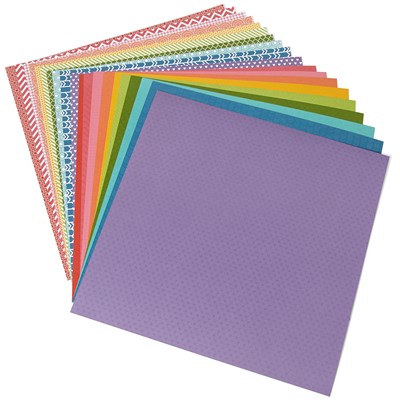
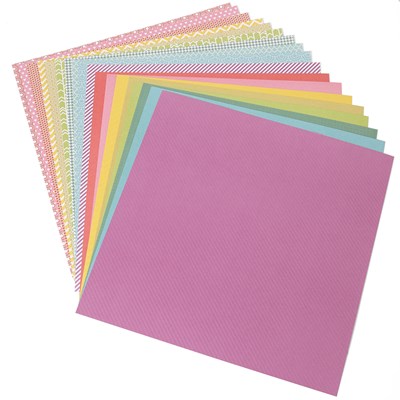
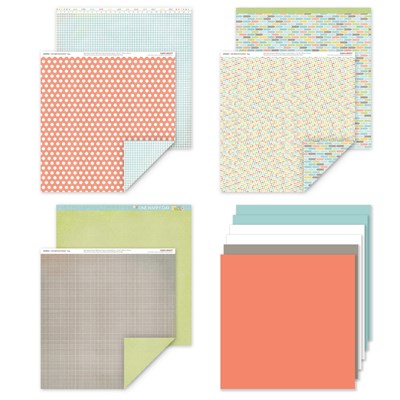
NOTE: While the new cardstock colors (8 of them all together!) are available as part of the Cricut Artistry Collection now, they are not available for separate purchase until September 1.  Coordinating ink pads are also not available until September 1.


For this card, I stamped the base with an image from one of the stamp sets that comes in the  Artistry Cricut collection. I used Lagoon ink and second generation stamping. I also added some Silver Shimmer Trim.


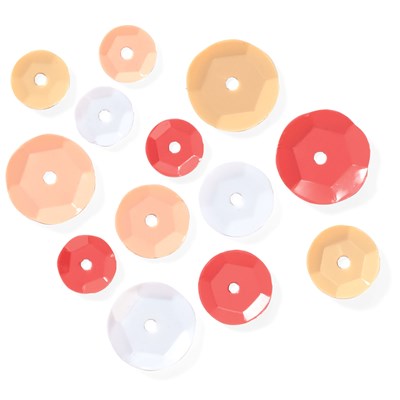
For this card, I used the Dot embossing folder and sanded the raised dots with the sanding block.  I used the frame stamp to make a background on my center panel. I used small Aqua Dots in the corners of the center panel.


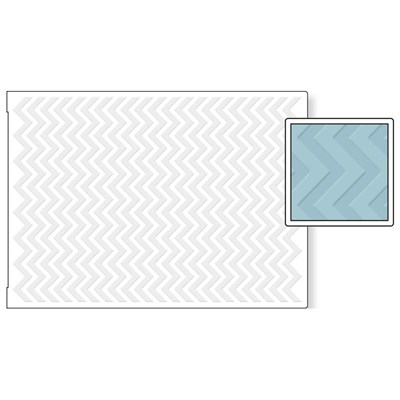
For this card, I used the Chevron embossing folder. This time, I only lightly sanded the raised lines for a distressed look. The sentiment panel is again popped up on Thin 3-D Foam Tape.


Another card using the Quatrefoil embossing folder and Silver Shimmer Trim.


I again used the Dots embossing folder for this card, and layered Silver Shimmer Trim under the narrow strip of Lagoon CS.


This gorgeous Christmas card is my favorite! I love the alternative color scheme. I used the Damask embossing folder and Silver Shimmer Trim. Definitely a case of less is more.


This card shows you can make a card with impact even with scraps. I used the Chevron embossing folder and Silver Shimmer Trim. I popped the sentiment up with Thin 3-D Foam Tape and added some Aqua Dots for interest.

Click on the pic to see it bigger!

Here they are all together. This would make a fun gift set in any color, or an easy addition to your home card "store". You can make it on your own using the workshop in the Wishes how-to book, or if you live in my service area* I would be happy to teach this to your group!

If you would like to shop, the links below open in a new window so you can continue with the hop right here. Remember, when you spend at least $50 you can get this terrific stamp set for only $5 - don't forget to add it to your cart! When you're ready to move along, let's go see what Carol Horton has created this month.

*My "typical" service area covers most of Chicagoland, as well as the I-55 corridor to Bloomington and the I-80 corridor west to the Quad Cities area. I am also happy to visit NE Indiana, or other areas within approximately 60 miles of the 60442 zip code. Not sure if I can visit you? Just ask!

Framed - August Stamp of the Month
Artistry Cricut Collection
Stamp pads in Lagoon and Black
Sponge Daubers
Silver Shimmer Trim
Aqua Dots
Embossing Folders
Wishes How-To Book
Thin 3-D Foam Tape

They're Heeere!!

You may know by now that the new Close To My Heart catalog will not be live until September 1. However, they knew we would all be begging for new stuff already, so there are a couple of new products available beginning TODAY! Including a brand spankin' new Cricut Cartridge and a new My Reflections scrapbook line!  Here are the new items we have available (click the links to see all the info in a new window):

Zoe Paper Pack and coordinating products

Cricut Artistry with Stamps and New Cardstock Colors
Now, check out my first project using these new products!

Click on the pic to see it bigger!

I purchased the Zoe Workshop on the Go, which comes with a stamp set and embellishments, plus a pattern booklet to create a 2-page layout and inspiration for a possible second one. I actually didn't use any of the embellishments on this layout, but I did use the stamp set - in fact, the stamp set inspired my entire layout! I did, however, add a sheet of Canary cardstock, and some Black Arrow washi tape.


"Sunshine" and "makes me happy" are both from the stamp set. As soon as I saw them I knew what I wanted my title to say (thank you John Denver), and how I wanted to design my layout. I cut the sun and the word Shoulders with the new Cricut Artistry cartridge. I stamped the phrases from the stamp set directly on my layout, and I made "stickers" with the Keyboard Uppercase stamp set (I'm SO happy this stamp set was not discontinued after all!).


Here's that fun washi tape, along with the pattern paper from Zoe. The green stripe is actually the zip strip from one of the papers! I used the heart image from the stamp set and some foam tape to make simple embellishments, and I added the "fun" stamp here.

I also used the dashed lines stamp to make journaling lines, using a frame mask the size I wanted my journaling area to be.

I really can't wait to play with both of these new products more this month! I promise I'll share my projects with you here too. I would love to hear what you think of my layout before you go!

Wednesday, July 29, 2015

Make a Wish!

What kid doesn't love a birthday party? All three of mine love a party, and this mom loves to document them! I think the Confetti Wishes line from Close To My Heart is great whether you have a boy or girl celebrating. Here are a few examples of birthday layouts I made using the paper pack, complements, and assortment.


This layout is really just a large photo mat backed by strips of the various patterned papers. The title and embellishments are complements stickers.


I based this layout on a sketch from one of CMTH's Make It From Your Heart pattern books.  The title is cut from the Cricut Artbooking cartridge, the tag is a complements sticker, and the other embellishments are from the Confetti Wishes assortment. I added a fiber from my stash to the journaling tag.


This is a "boy" version using squares and strips of the pattern paper, a Cricut cut title from Artbooking, and complements stickers.


Here's another "boy" version. I used another title cut with the Cricut Artbooking cartridge, and more complements stickers.


I've shown this fun layout before. In addition to the paper pack, I stamped some pattern paper using a former stamp of the month set. I also added a title and embellishments made with the same stamp set. Note: while this particular stamp set is no longer available, there are several other sets perfect for birthdays on the website.  Look in the Occasions stamp category for ideas!

I did add a few sheets of cardstock from my basic supplies for page bases. But even after all of these fun layouts, I still have some decent scraps of paper left, as well as a few embellishments from the assortment and some complements stickers. Perfect for making any birthday cards we need in the next little while.
Related Posts Plugin for WordPress, Blogger...