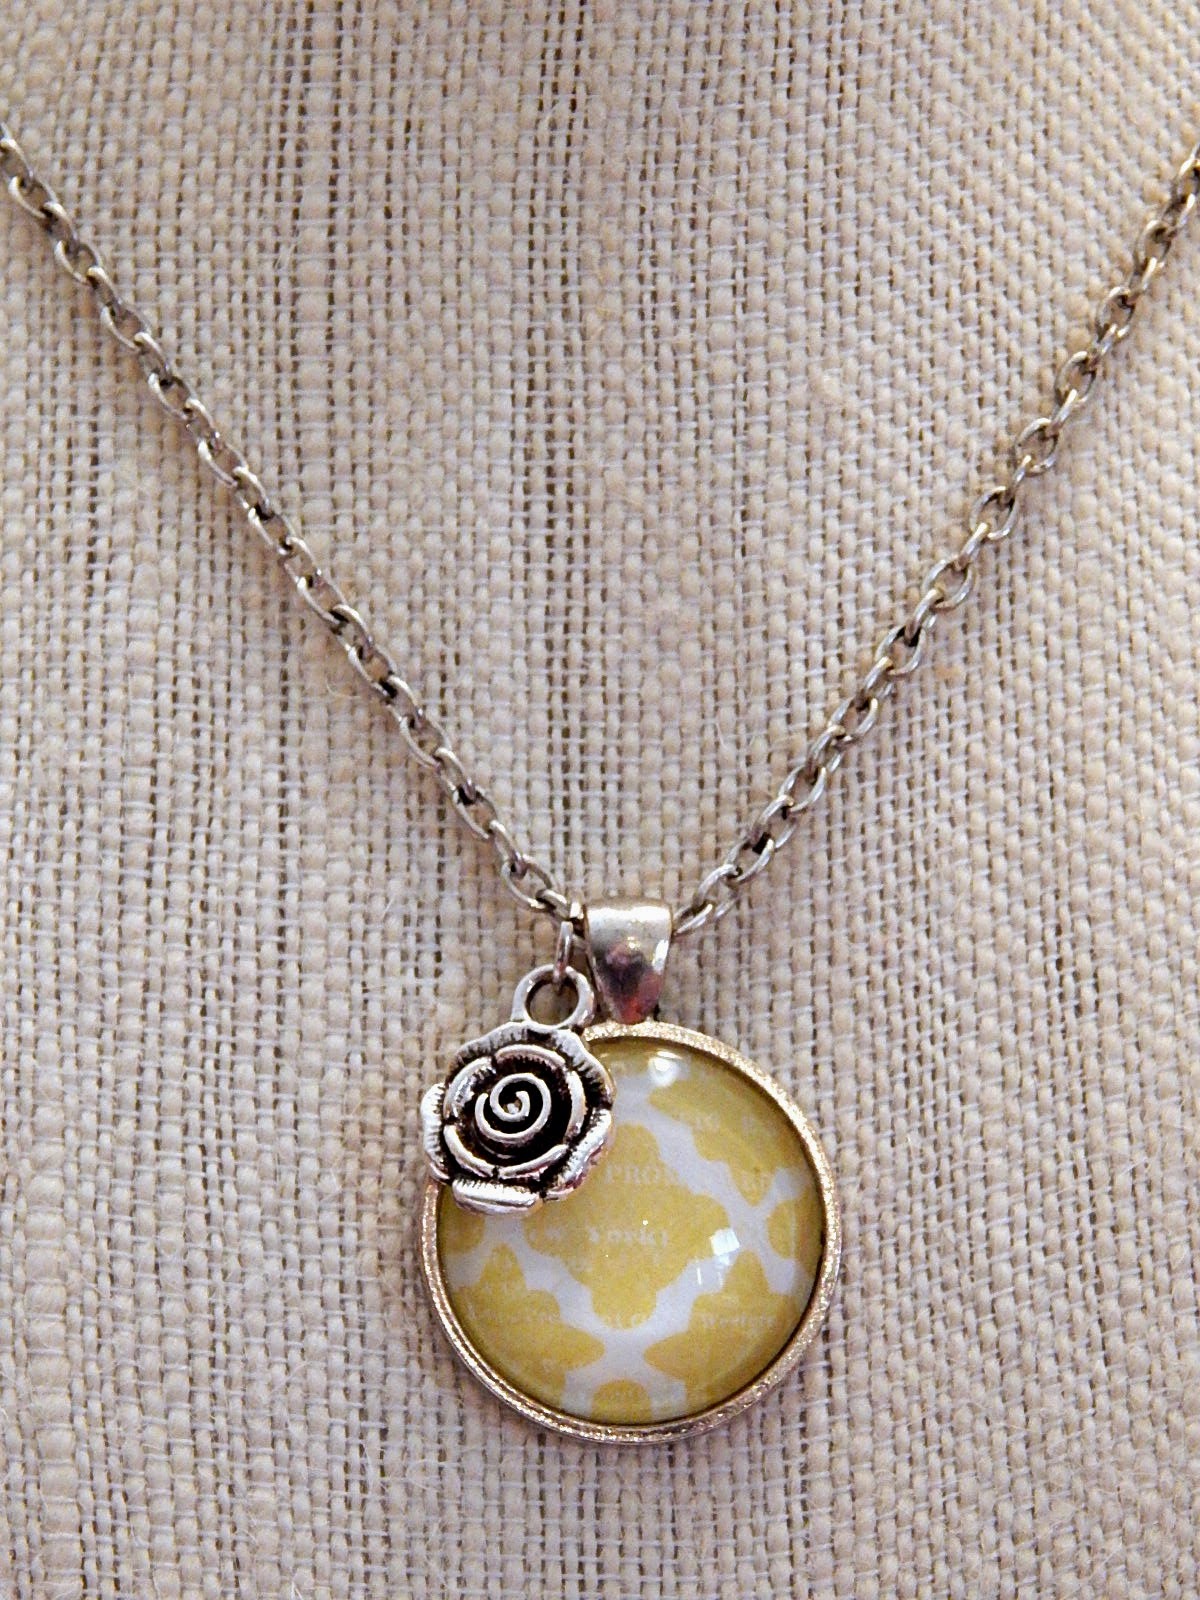
These pendants literally take less than 2 minutes to put together - the only hard part is deciding what to put in them! So here are a few that I have made:
 |
This is nothing more than patterned paper! I used a 1" punch for the circle, and used Liquid Glass to adhere it into the pendant and to adhere the glass dome. I used a baby wipe to clean off any extra adhesive that oozed out, and BOOM! Done! (Of course, I would recommend waiting at least 15 minutes for the adhesive to dry properly before trying to wear it, but seriously, less than 2 minutes start to finish.)
Again, just patterned paper. I added a charm from the Free Thinker packet, and that was it. This will be one of the door prizes at our local Woman's Club Flower Show tomorrow night; I'm sure the winner will love it!
And finally, this is one I made for myself since I am the queen of all things crafty! For this one, I used an adhesive image from the Craft Queen Style Sheet. I also used some little jewelry pliers to open the jump rings on my charms and attach them to the chain in fixed positions instead of just sliding them on.
Aren't these such a fun and quick project?! With the great prices, I think they would even be a fun craft for an older girl's birthday party. And of course, what a great project for a grownup Girls Night Out! Some of my fellow consultants have even used photos in theirs for a very special memento - something I would like to try soon.
Pendants are available in circles and squares, and everything comes in Faux Antiqued Gold and Faux Antiqued Silver finishes. You can check out the entire line of Base & Bling Wearable Crafts on my website, but here are the specific items available for these great necklaces.
- Chains - 30" plus 2" extender
- Pendants & Glass Covers
- Style Sheets
- Charms - on page 1 of search results here
- Liquid Glass adhesive


No comments:
Post a Comment
Thank you for taking the time to comment! I appreciate them all, and invite you to become a Follower as well.