My favorite thing about washi tape is that it's super thin - layer it up without adding bulk to your projects! If you're new to washi tape, you can use it just like ribbon or strips of cardstock without adding bulk. I love to make lumpy bumpy projects, but it's not always practical. Let's start with this card:

Check out all those layers! The gold dots, ruby chevron, lagoon houndstooth, and smoothie stripe are all washi tape. I used some Teal Shimmer Trim next to the gold dots, using a punch for the scalloped edge. The lagoon square is cardstock, embossed with a Chevron Embossing Folder. The circle is Colonial White cardstock, stamped in Lagoon and Ruby ink and the Perfect Fit - Birthday stamp set. I based this card on this week's Mojo Monday sketch, so I'm linking up over there.
Now, how about a super CAS card? Check this out:

Nothing but washi tape and ink! No chance of that being mangled in the mail! The sentiment is from the same Perfect it - Birthday stamp set I used above.
Of course, washi tape does not have to be limited to your paper projects. Here are a couple of simple ideas for the home:
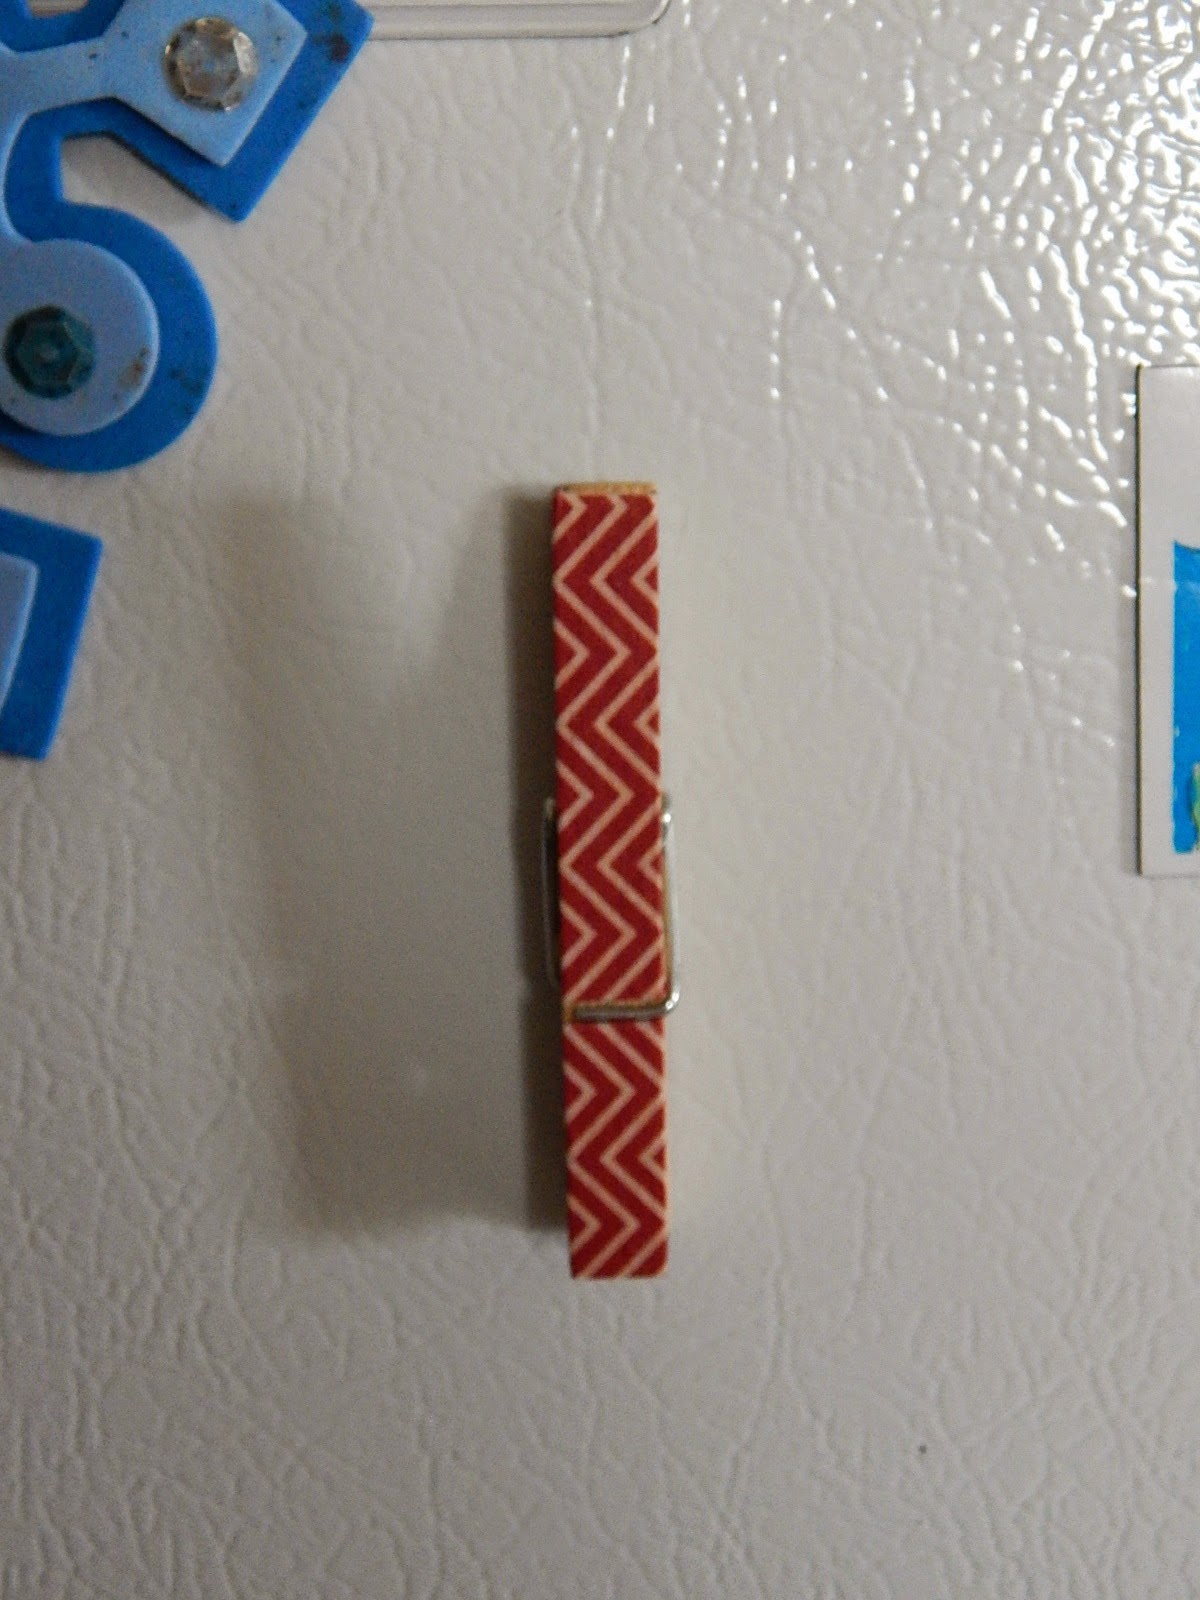

This is a super simple note holder for your fridge - just cover one side of a wooden hinged clothespin with washi tape, add a magnet strip to the other side, and you're done! Want a matching pencil cup? Recycle an empty can and cover it in strips of washi tape. (I was going to make one, but someone actually took all of the recycling out to the curb this week!)

And finally, add a little personality to the room with a washi tape light switch cover! Since it's super thin, it easily goes around curves and over to the back side. It's easy to cut with a knife - just slice an "X" in the center of the switch hole and fold it over to the back. And the best part is that it's easy to change whenever you want! I made this one for the craft room (which is the front room in our house), but I would love different versions of this in pretty much any room!
I hope you enjoyed my ideas today - be sure to leave me a little comment before we head over to Michelle Jones' blog and see what she came up with. I can't wait to see everyone's ideas!
LOVE the clothes pin and switch plate ideas! Cute cards, too.
ReplyDeleteWonderful ideas! I am going to cover all of my craft room switch plates with washi tape. Love it!
ReplyDeleteCute card, and really great light switch cover.
ReplyDeleteClever ideas - the lightswitch especially...you don't have to wash off the dirty fingerprints!
ReplyDeleteWow! Lots of cute ideas here! I love them all!
ReplyDelete