You are in for a treat today with all of these great projects from everyone! I will freely admit that, with Halloween not even here, I was not really feeling it when it came time to work with this stamp set. But as soon as I started, the ideas just kept coming...
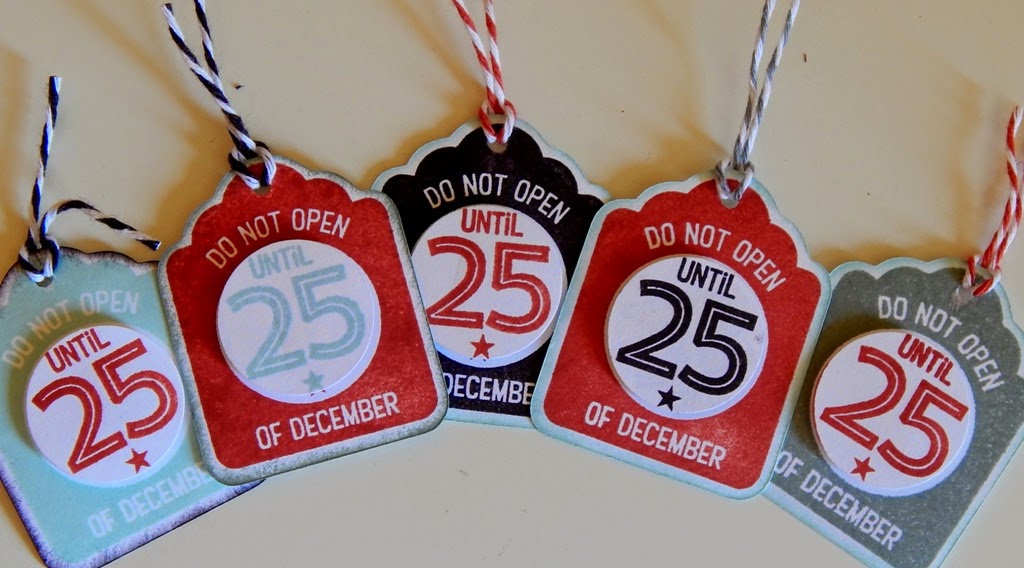
I will start by letting you in on one of my favorite organizational and secret-keeping tips for Christmas. We have three Christmas celebrations, so I use one color scheme for gifts to go to my family and one color scheme to go to the hub's family.
For our own house, I get sneaky. I assign each kid a tag color and nobody knows whose is whose. I can wrap and put gifts under the tree without waiting for Christmas Eve and there is very little chance of sneaky people figuring out what their gifts are.
I stamped tags in multiple colors and punched out the center circles of half of them. I then popped it up on foam tape over a contrasting color tag.
A little length of twine through the hole is a simple addition to these cute tags.
This other tag style in the stamp set is super cute on its own or as part of a card. I stamped the entire image in Cranberry on a tag, then in Slate on a scrap. I cut out the house portion of the gray image, using an X-acto knife to cut the window, and adhered it over the Cranberry image on the tag. I colored in the wreath with an alcohol marker.
Finally, I made these two easy greeting cards. They took very little time, and I just love the way they turned out!
This final card features that oh-so-cool polar bear stamp. I cut the coordinating Cricut shape from White Daisy and stamped the image in Glacier ink. I then cut the frame from Cranberry cardstock using the Layer feature key on the Cricut cartridge. After sponging the frame edges with Cranberry ink, I adhered it over the stamped image.
Finally, I stamped the image again in Cranberry ink on a scrap of White Daisy and cut out the scarf portion. Again, I sponged the edges with Cranberry ink and adhered it over the complete image. I layered a pattern paper mat and a Cranberry mat on a white card base, then adhered the image, Silver Shimmer Trim, and some Red Enamel Hearts.
I hope my projects got your creative juices flowing today! When you're ready to hop along, we can head over to see what Dawn Ross has created this month. Or, if you'd like to shop first, I have a list of everything I used. The links open in a new window, so there's no fear of losing your place in the hop!
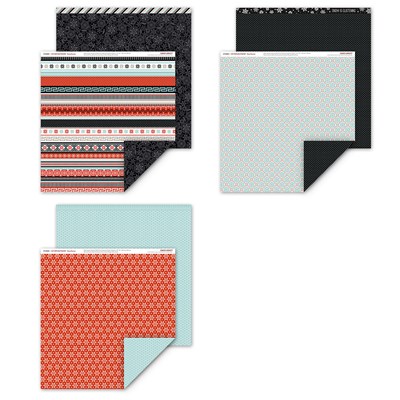 |
| Snowhaven paper pack |
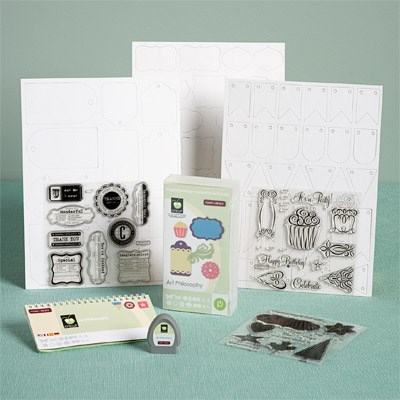 |
| Art Philosophy Cricut collection |
 |
| Silver Shimmer Trim |
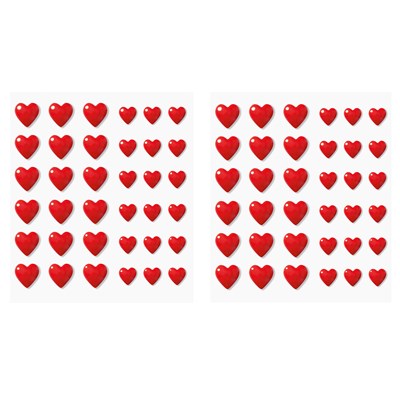 |
| Red Enamel Hearts |
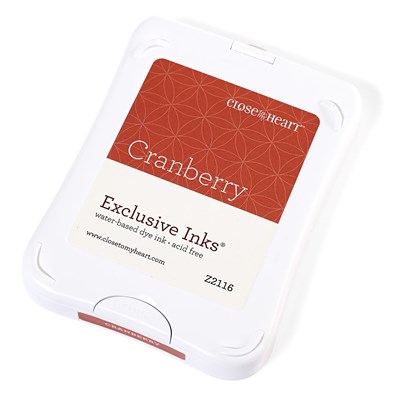 |
| Stamp Pads in Cranberry, Glacier, Black, and Slate |
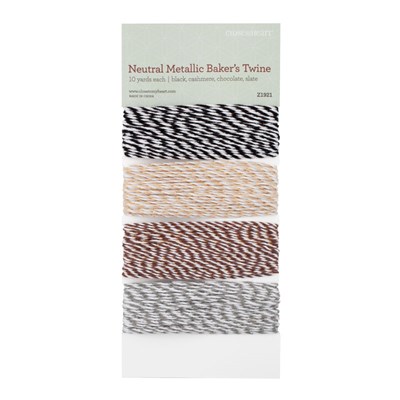 |
| Baker's Twine |
 |
| Sponge Daubers |
 |
| 3-D Foam Tape |
 |
| Non-stick Micro-tip Scissors |


Color-coding your gift tags is a great idea. Your cards are beautiful.
ReplyDeleteI like your color-coded tag idea. Very clever. Cute projects too.
ReplyDeleteI love the tag idea, how fun! The tags turned out really cute with the date popped up.
ReplyDeleteSuch a clever idea to color code the cute tags! And great cards too!
ReplyDeleteTags are simple yet purposeful. Love that and the cards.
ReplyDeletegreat tags and cards...love this paper collection!
ReplyDeleteAs my kids get older I might have to use your color code idea. Great work.
ReplyDeleteI live the idea of colour coding ! Brilliant. Gorgeous work
ReplyDeleteCute set of gift tags.
ReplyDeleteI love the overlay of ornaments!
ReplyDelete